



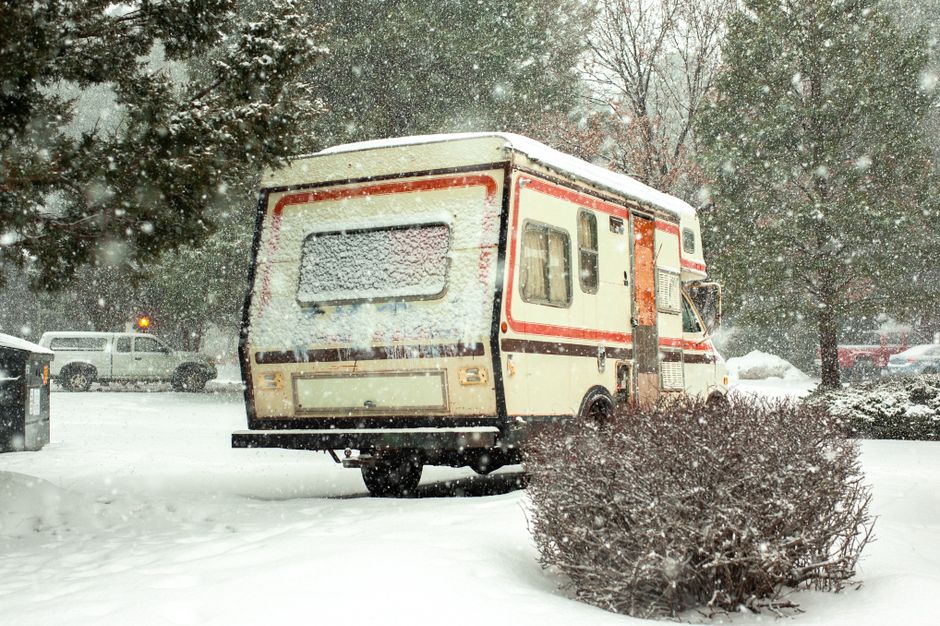
Do You Really Need to Winterize?
If you live in a region where temperatures dip below freezing, the answer is a resounding yes. Water expands when it turns to ice, and if left in your plumbing lines, water heaters, or pumps, that expansion can crack fittings and cause thousands of dollars in damage.
Even if you have an "early freeze warning" tonight, you need to act fast. If you don't have time for a full blowout, at least drain your low-point drains and water heater to mitigate the risk.
Calculating Your Antifreeze Needs
First-time winterizers often wonder: how much pink stuff do I need? A standard rule of thumb for most travel trailers and mid-sized motorhomes is two to three gallons of RV-specific propylene glycol antifreeze.
Always check your owner's manual to see if you have a bypass kit installed. If you do, you can bypass your water heater, which saves you from wasting two gallons of antifreeze filling a tank that doesn't need it.
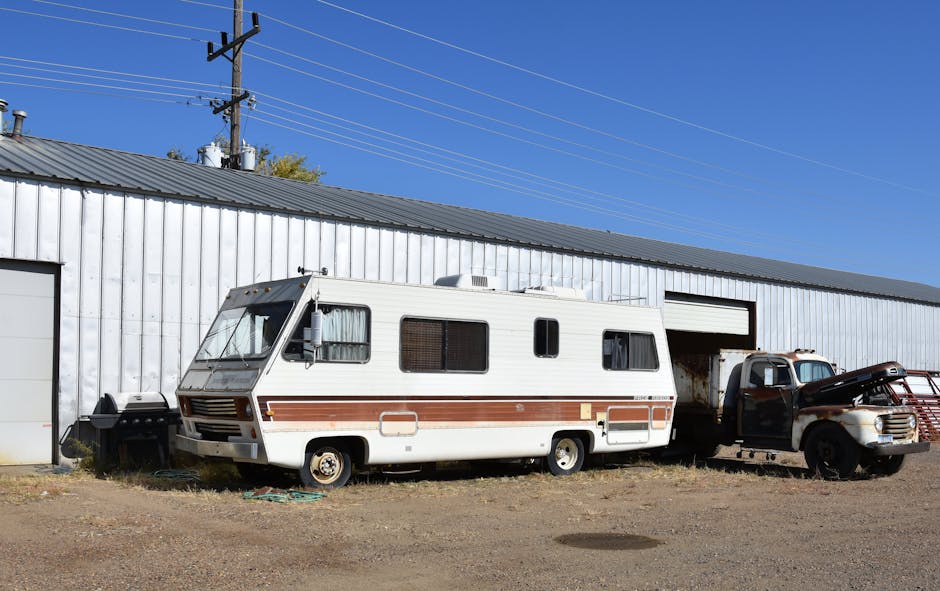
Storage Solutions: Covered vs. Open
Once your rig is winterized, where do you put it? Covered storage is the gold standard for long-term protection. It keeps snow and ice off your roof, reducing the chance of seals failing and allowing water intrusion over the long winter months.
If you are building your own storage, aim for a structure that allows for airflow to prevent mold, while keeping UV rays off your tires. Many of our recommended partners at [Riverside RV Park](/park/riverside-rv-park) offer secure seasonal options that help preserve your RV's value.
Steps for a Successful Winter Prep
- Drain all holding tanks: Fresh, gray, and black water tanks must be completely empty.
- Bypass and drain the water heater: Remove the anode rod if applicable to allow all water to exit.
- Open faucets: Start from the highest point and move to the lowest to ensure all lines are clear.
- Pump the antifreeze: Use your RV water pump to pull the pink stuff through every faucet until you see consistent color.
- Seal it up: Ensure all exterior vents are closed and consider using tire covers.